I don’t often get asked “hey, how do you create those great panoramic images I keep seeing you post all the time?” And while I’m not expecting a flood of questions on the subject, especially since there are a ton of camera phone apps out there that do panos, I thought it would make a decent blog post in case someone wanted to shoot panoramas with their current camera.
The process of creating a panorama is fairly simple, as long as you have the right tools, and since I mentioned it in the title of this post, Adobe Photoshop is one of the more important tools needed for this process. Other image manipulation software will work, but as this is a Photoshop tutorial, you will have to do the research yourself if you want to use something else.
Before I get ahead of myself, I should define what a panorama is. According to Wikipedia: A panorama is any wide-angle view or representation of a physical space, whether in painting,drawing, photography, film/video, or a three-dimensional model. So yes, all a panorama is, is a wide angle image of something. With that said, most of the time when I think of a panorama, I think of an image that is much wider than it is tall.
Now if we were going strictly by the definition, we could set our cameras to the widest lens setting, snap a picture and be done. If you wanted to crop the image so it would apear like a more “traditional” (meaning my definition of an image that is much wider than it is tall) panorama, you could just adjust the crop settings of your image editing program and the image would take on the panoramic appearance. Now I don’t know about you, but when I think of an image that is much wider than it is tall, I think of a very wide-angle of view shot, and since most cameras don’t have the ability to shoot really wide angle of view shots (iPhone commercials be damned!) you will have to use a series of photos and some post processing to achieve the desired effect.
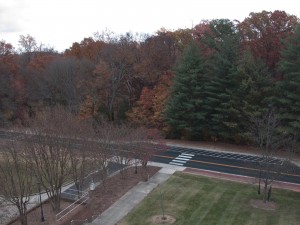
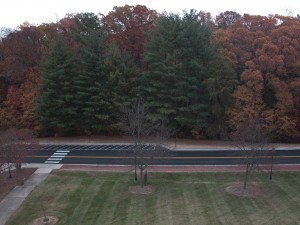
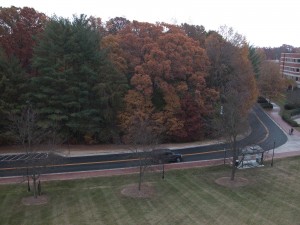
So here are 3 photos I took out of my office window, using the department of Geography and Earth Sciences Nikon Coolpix E5700 (which is 5 megapixels and about 10 years old).
If I had been quick enough to capture the SUV in all three images, it would show up as 3 separate SUV’s in the final image.
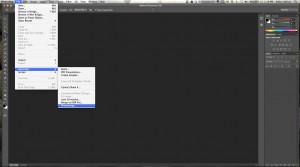
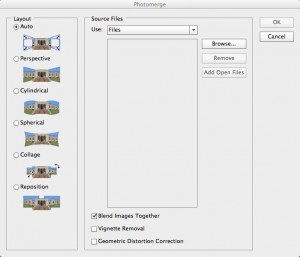
Now, in order to take these 3 photos and turn them into a panorama, Open/Launch Adobe Photoshop (I used version CS6, but you can use older versions as well). Once Photoshop is open, click on File, then Automate and finally, Photomerge
(The Photomerge command will allow you to stitch several photos together, and thus achieve the desired very-wide-angle photo.)
Once the Photomerge window is open
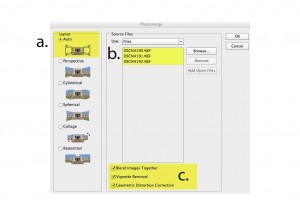
You will need to click on the “Browse” button and find the series of photos you want to stitch together.
The photos you select will show up in the window (figure b.)
For most uses set the Layout to Auto (figure a.)
Be sure to check all 3 boxes (figure c.) as these options help fix any distortion that the stitching may cause
Once all of the images have been selected and are showing in the Photomerge window, click on OK and Photoshop will begin attempting to align the images and create a panorama of your images.
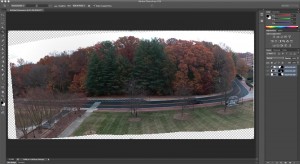
Once Photomerge is finished, you will end up with this type of image with curved edges.
Also note that each image appears in its own layer. You will need to flatten the image before you do any color correction.
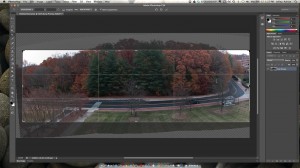
At this point a little cropping is needed to trim out the curvy edges
How much you crop is a personal preference, and might take some trial and error to get “right”
Once you are satisfied with your cropped image, make any other adjustments you like, save it, and show it off.
